How to clean a Clamp Plate Gate Valve?
Leave a message
As a reputable supplier of Clamp Plate Gate Valves, I understand the importance of proper maintenance to ensure the longevity and optimal performance of these essential industrial components. In this blog post, I will guide you through the step-by-step process of cleaning a Clamp Plate Gate Valve, sharing valuable insights and best practices based on my experience in the industry.
Understanding the Clamp Plate Gate Valve
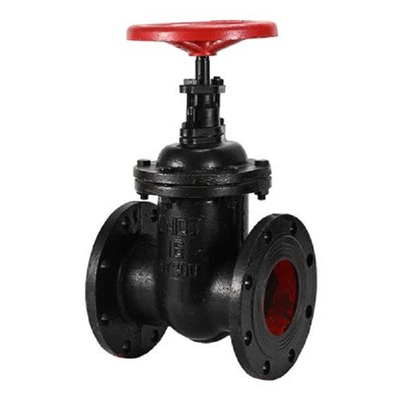
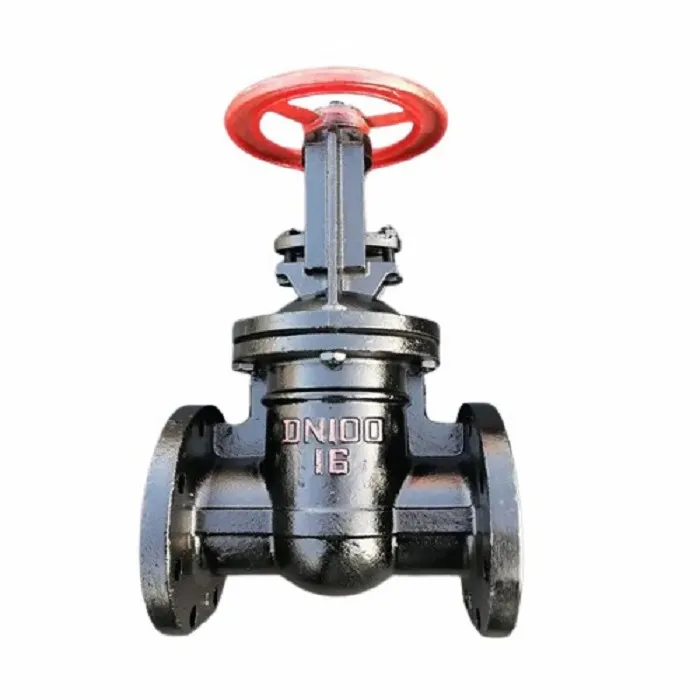
Before diving into the cleaning process, it's crucial to have a basic understanding of the Clamp Plate Gate Valve. These valves are widely used in various industries, including oil and gas, water treatment, and chemical processing, to control the flow of fluids through pipelines. The clamp plate design provides a secure and reliable connection between the valve body and the pipeline, ensuring a tight seal and preventing leakage.
The gate valve consists of a gate, which is a flat or wedge-shaped disc that moves up and down to open or close the valve. When the gate is fully open, the fluid can flow freely through the valve, while a fully closed gate blocks the flow completely. Over time, however, the valve can accumulate dirt, debris, and corrosion, which can affect its performance and lead to premature failure.
Tools and Materials Required
To clean a Clamp Plate Gate Valve effectively, you will need the following tools and materials:
- Safety equipment: Safety glasses, gloves, and a face shield to protect yourself from any potential hazards.
- Cleaning agents: A suitable valve cleaner or degreaser, such as a mild detergent or a specialized valve cleaning solution.
- Brushes: Soft-bristled brushes of various sizes to remove dirt and debris from the valve components.
- Rags or towels: To dry the valve components after cleaning.
- Lubricant: A high-quality valve lubricant to ensure smooth operation of the valve.
- Wrenches: Appropriate wrenches to disassemble and reassemble the valve.
Step-by-Step Cleaning Process
Step 1: Safety First
Before starting the cleaning process, it's essential to take all necessary safety precautions. Make sure the valve is isolated from the pipeline and depressurized to prevent any accidental release of fluids. Wear appropriate safety equipment, including safety glasses, gloves, and a face shield, to protect yourself from any potential hazards.
Step 2: Disassemble the Valve
Using the appropriate wrenches, carefully disassemble the Clamp Plate Gate Valve. Start by removing the clamp plates that hold the valve body together. Then, remove the bonnet bolts and lift off the bonnet. Next, remove the stem nut and the gate from the valve body. Take note of the orientation of the components to ensure proper reassembly later.
Step 3: Inspect the Valve Components
Once the valve is disassembled, inspect each component for signs of damage, wear, or corrosion. Check the gate, seat, stem, and other parts for any cracks, scratches, or pitting. If any components are damaged beyond repair, they should be replaced with new ones.
Step 4: Clean the Valve Components
Using the soft-bristled brushes and the cleaning agent, gently clean each valve component to remove dirt, debris, and corrosion. Pay special attention to the gate and seat, as these are the critical sealing surfaces. Use a brush to scrub the surfaces thoroughly, and then rinse them with clean water.
For stubborn dirt or corrosion, you may need to soak the components in the cleaning agent for a longer period or use a more aggressive cleaning method. However, be careful not to damage the valve components during the cleaning process.
Step 5: Dry the Valve Components
After cleaning, use a clean rag or towel to dry the valve components thoroughly. Make sure there is no moisture left on the components, as this can lead to corrosion.
Step 6: Lubricate the Valve Components
Apply a thin layer of high-quality valve lubricant to the stem, gate, and other moving parts of the valve. This will help to reduce friction and ensure smooth operation of the valve.
Step 7: Reassemble the Valve
Once the valve components are clean, dry, and lubricated, carefully reassemble the Clamp Plate Gate Valve. Start by inserting the gate into the valve body, making sure it is properly aligned. Then, install the stem nut and the bonnet, and tighten the bonnet bolts to the recommended torque. Finally, install the clamp plates and tighten them securely.
Step 8: Test the Valve
After reassembling the valve, test it to ensure it is functioning properly. Slowly open and close the valve several times to check for smooth operation and proper sealing. If there are any issues, such as leakage or difficulty in operation, disassemble the valve again and check for any problems.
Maintenance Tips
To keep your Clamp Plate Gate Valve in optimal condition, it's important to follow these maintenance tips:

- Regularly inspect the valve for signs of damage, wear, or corrosion.
- Clean the valve at regular intervals, depending on the operating conditions and the type of fluid being handled.
- Lubricate the valve components as recommended by the manufacturer.
- Replace any damaged or worn components promptly to prevent further damage to the valve.
- Follow the manufacturer's instructions for installation, operation, and maintenance of the valve.
Conclusion
Cleaning a Clamp Plate Gate Valve is an essential maintenance task that can help to ensure the longevity and optimal performance of the valve. By following the step-by-step process outlined in this blog post and using the right tools and materials, you can effectively clean your valve and keep it in good working condition.
As a Clamp Plate Gate Valve supplier, we offer a wide range of high-quality valves, including Gray Cast Iron Flat Gate Valve, API 6A Flat Gate Valve, and Forged Welded Flat Gate Valve. If you have any questions or need further assistance with valve cleaning or maintenance, please feel free to contact us. We are always ready to help you find the best solutions for your industrial needs.
References
- Valve Manufacturer's Manuals
- Industry Standards and Guidelines for Valve Maintenance