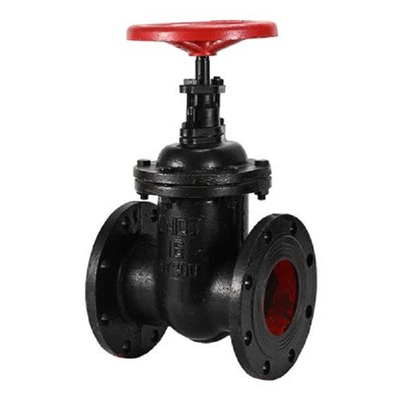
How to calibrate the position indicator of API 6A Flat Gate Valve?
Leave a message
Hey there! As a supplier of API 6A Flat Gate Valves, I often get asked about how to calibrate the position indicator of these valves. It's a crucial step to ensure the proper functioning and safety of the valve in various industrial applications. So, let's dive right into it!
Why Calibration Matters
First off, why do we even need to calibrate the position indicator? Well, the position indicator on an API 6A Flat Gate Valve shows whether the valve is fully open, fully closed, or somewhere in between. This information is vital for operators to monitor the valve's status and make sure the system is running smoothly. If the position indicator is inaccurate, it can lead to misinterpretation of the valve's position, which might result in operational issues, safety hazards, or even equipment damage.
Tools You'll Need
Before we start the calibration process, let's gather the necessary tools. You'll need a set of wrenches, a feeler gauge, a torque wrench, and a calibration chart specific to your API 6A Flat Gate Valve model. Having these tools ready will make the calibration process much smoother.
Step 1: Preparation
The first step is to make sure the valve is in a safe and stable condition. Shut down the system and relieve any pressure in the valve. This is super important to prevent any accidents during the calibration process. Once the valve is depressurized, visually inspect it for any signs of damage or wear. Check the valve body, stem, and the position indicator itself. If you notice any issues, it's best to address them before proceeding with the calibration.
Step 2: Locating the Calibration Points
Next, you need to find the calibration points on the position indicator. These points are usually marked on the indicator housing or in the valve's manual. The calibration points represent the fully open and fully closed positions of the valve. Use the feeler gauge to measure the gap between the calibration points and the corresponding marks on the indicator. This will give you an idea of how far off the indicator is from the actual valve position.
Step 3: Adjusting the Position Indicator
Now it's time to make the adjustments. Loosen the mounting bolts of the position indicator using the wrenches. Gently move the indicator to align it with the calibration points. Use the feeler gauge to ensure that the gap is within the specified tolerance. Once the indicator is aligned, tighten the mounting bolts using the torque wrench. Make sure to follow the torque specifications provided in the valve's manual to avoid over-tightening or under-tightening.
Step 4: Verifying the Calibration
After making the adjustments, it's important to verify the calibration. Slowly open and close the valve using the valve actuator. Observe the position indicator as the valve moves. The indicator should accurately reflect the valve's position at all times. If you notice any discrepancies, repeat the adjustment process until the calibration is accurate.
Step 5: Final Checks
Once you're satisfied with the calibration, perform a final check of the valve and the position indicator. Check all the mounting bolts for tightness and make sure there are no loose parts. Also, check the valve's operation one more time to ensure that it opens and closes smoothly.
Tips and Tricks
- Always follow the manufacturer's instructions when calibrating the position indicator. Each API 6A Flat Gate Valve model may have specific calibration procedures and requirements.
- Keep a record of the calibration process, including the date, time, and any adjustments made. This will help you track the valve's performance over time and identify any potential issues.
- If you're not confident in your ability to calibrate the position indicator, it's best to consult a professional technician. They have the expertise and experience to perform the calibration accurately and safely.
Our API 6A Flat Gate Valve Products
At our company, we offer a wide range of API 6A Flat Gate Valves to meet the diverse needs of our customers. Our Forged Welded Flat Gate Valve is designed for high-pressure and high-temperature applications. It features a forged body and welded connections for superior strength and durability.


If you're looking for an automated solution, our Electric Flat Gate Valve is a great choice. It comes with an electric actuator that allows for remote operation and precise control.
For power station applications, we have the Flat Gate Valve for Power Station. This valve is specifically designed to meet the strict requirements of power generation plants, ensuring reliable and efficient operation.
Contact Us for Purchasing
If you're interested in purchasing our API 6A Flat Gate Valves or have any questions about calibration or valve operation, don't hesitate to contact us. We have a team of experts who are ready to assist you with your needs. Whether you're a small business or a large industrial enterprise, we can provide you with the right valve solutions at competitive prices.
References
- API 6A Standard - Specification for Wellhead and Christmas Tree Equipment
- Valve Manufacturer's Manuals
That's all for today's blog post. I hope you found this information helpful. If you have any comments or questions, feel free to leave them below. Thanks for reading!